- Published on
Setting up Video Conferencing with Zoom plugin version 4.0.0
With plugin version 4.0.0 – Video conferencing with zoom plugin now supports server-to-server authentication method. As, JWT App Type is being deprecated by Zoom we have implemented the new server-to-server authentication method.
Current users do not need to worry about any breaking changes, chances are there is none. Server-to-server authentication method is fairly simple to integrate. It is mostly similar to how you have been using your JWT keys. Only the authentication method is different. This feature came into existence because the JWT app type will be deprecated in June, 2023. Zoom recommends that you create Server-to-Server OAuth or OAuth apps to replace the functionality of a JWT app in your account.
So, let’s get started on your migration or setup guide.
Step 1: Generating Keys
- First go to Create Page
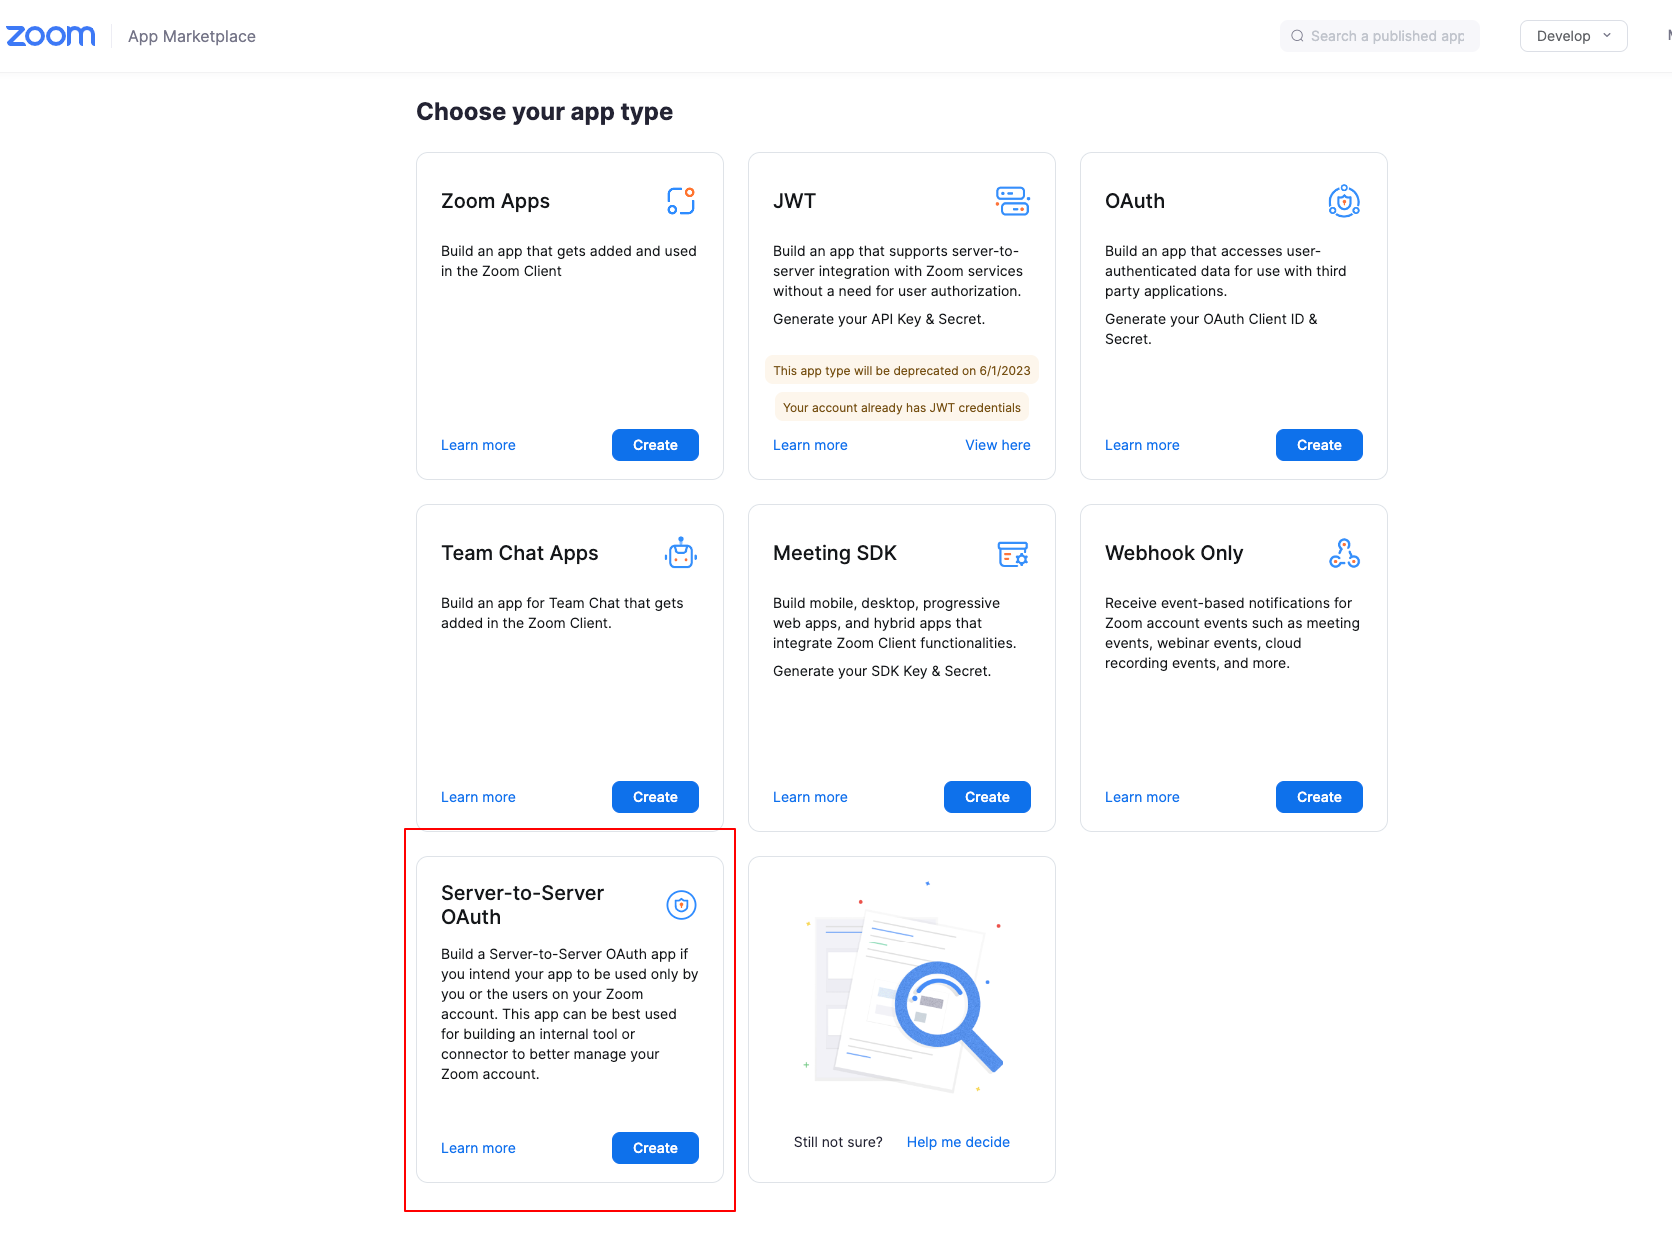
- Find Server-to-Server OAuth and click create – highlighted in below image.
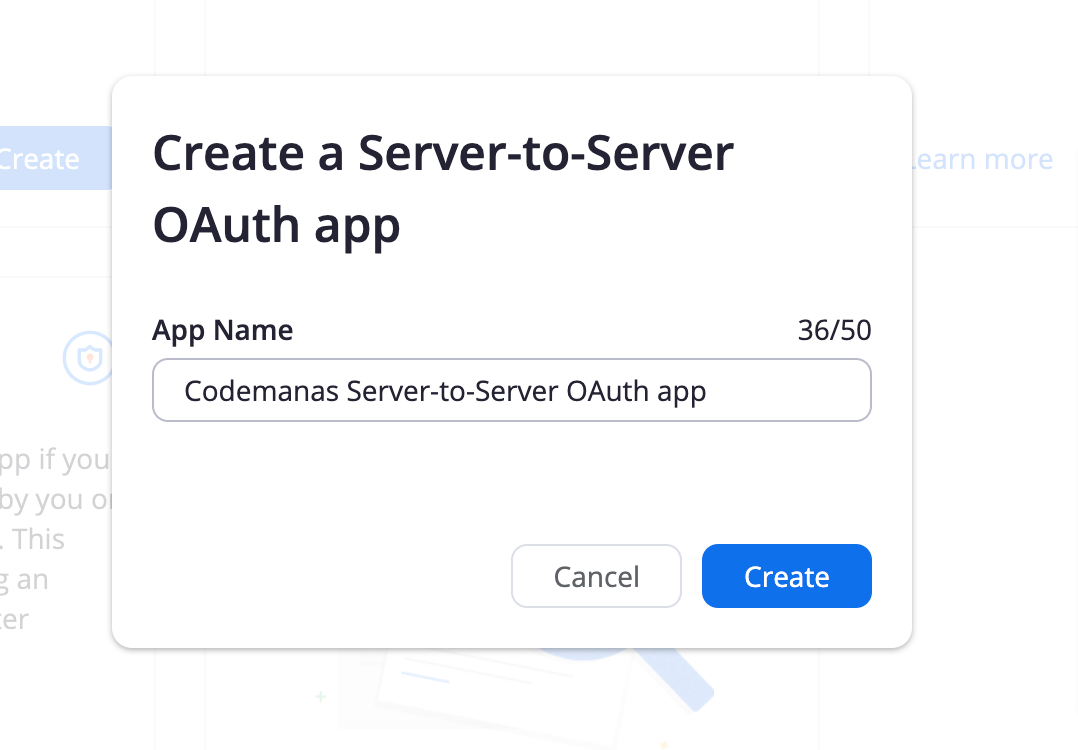
3. Add you app name now into the box shown below.
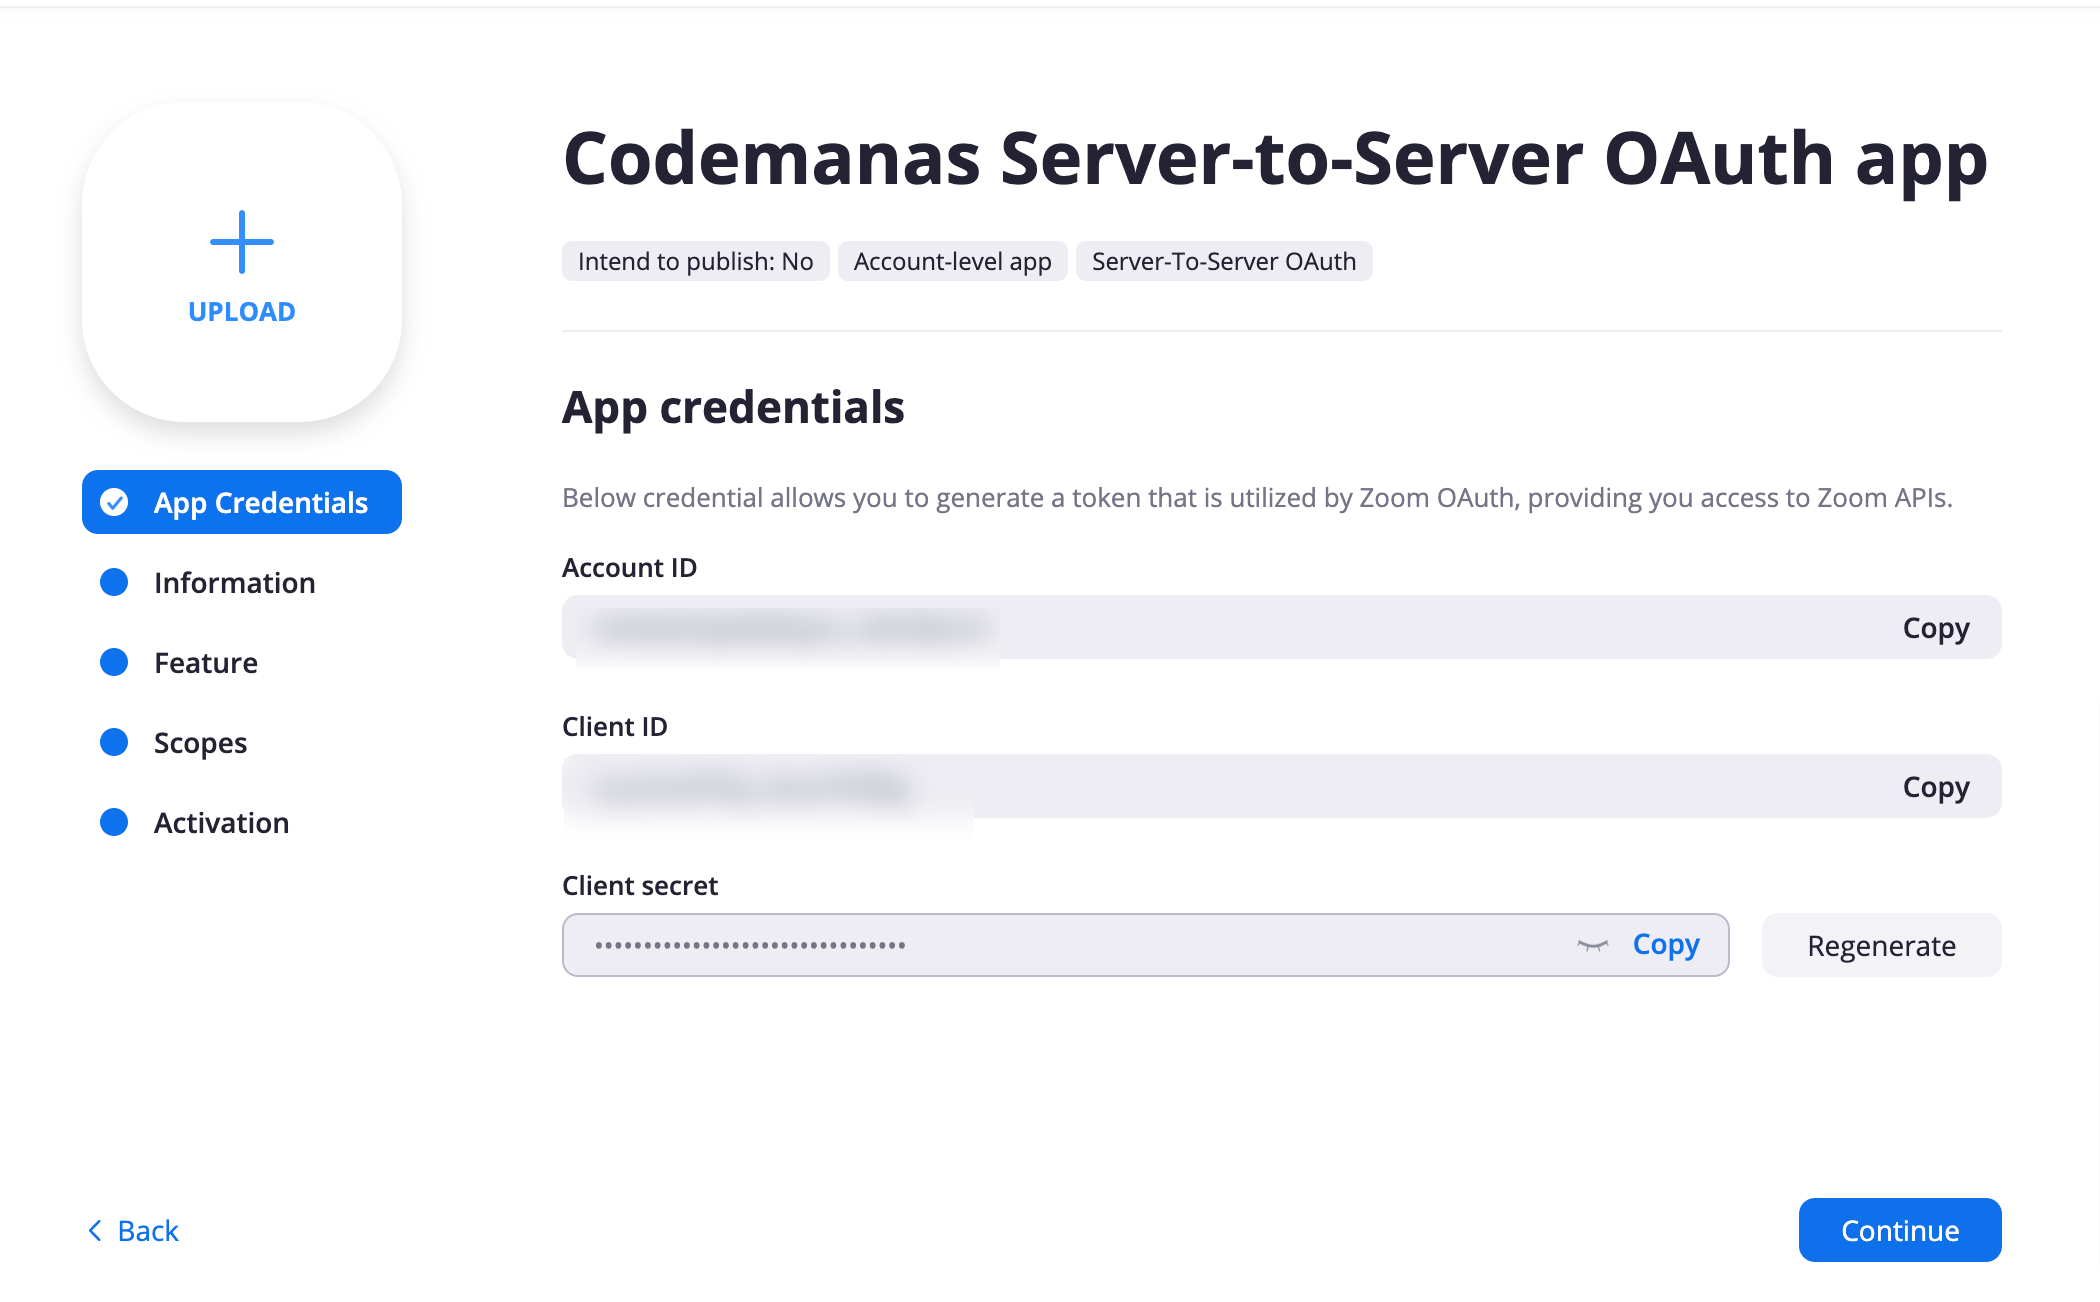
4. Once App is created – you will be taken to an App Overview page where you can see App Credentials
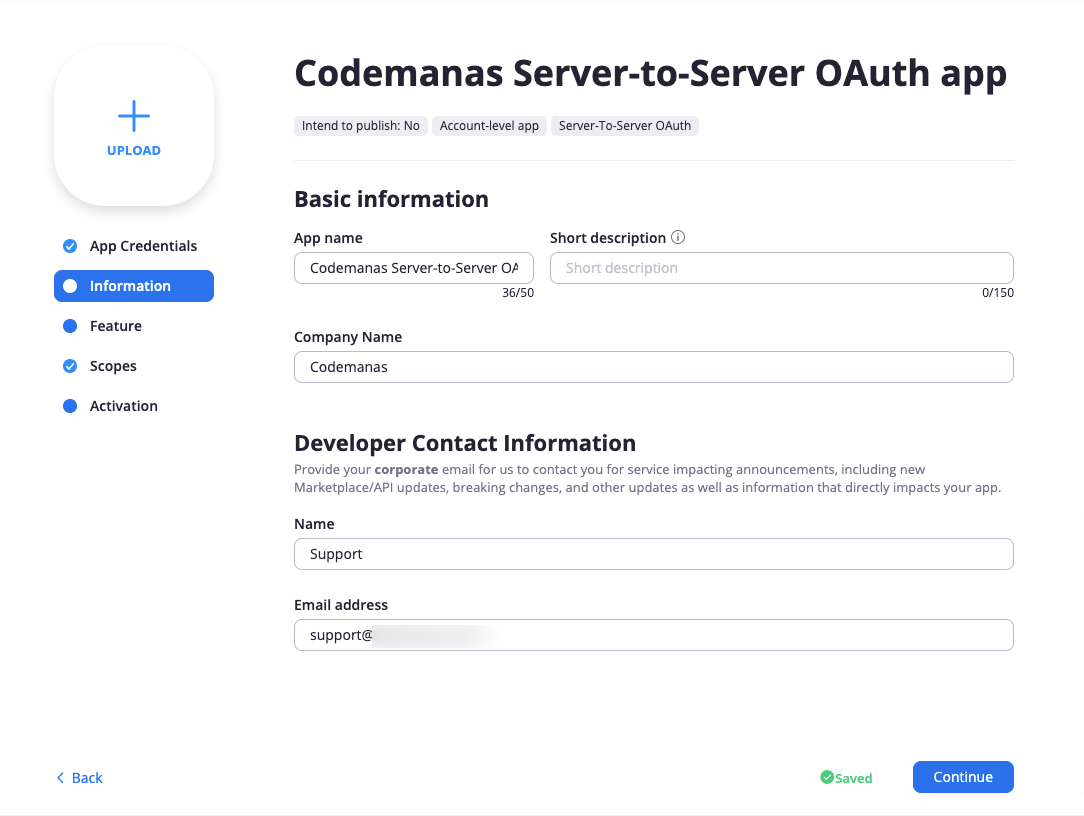
5. Now add your Contact name, Contact email and Company name on the information page
6. This is a very crucial step, for the Video conferencing with zoom plugin to work – you will need to define the correct scopes for the App. Goto scopes and click “Add Scopes” and add Meeting, Webinar, Report, User, Recording, Report and select all options on each selected scopes.
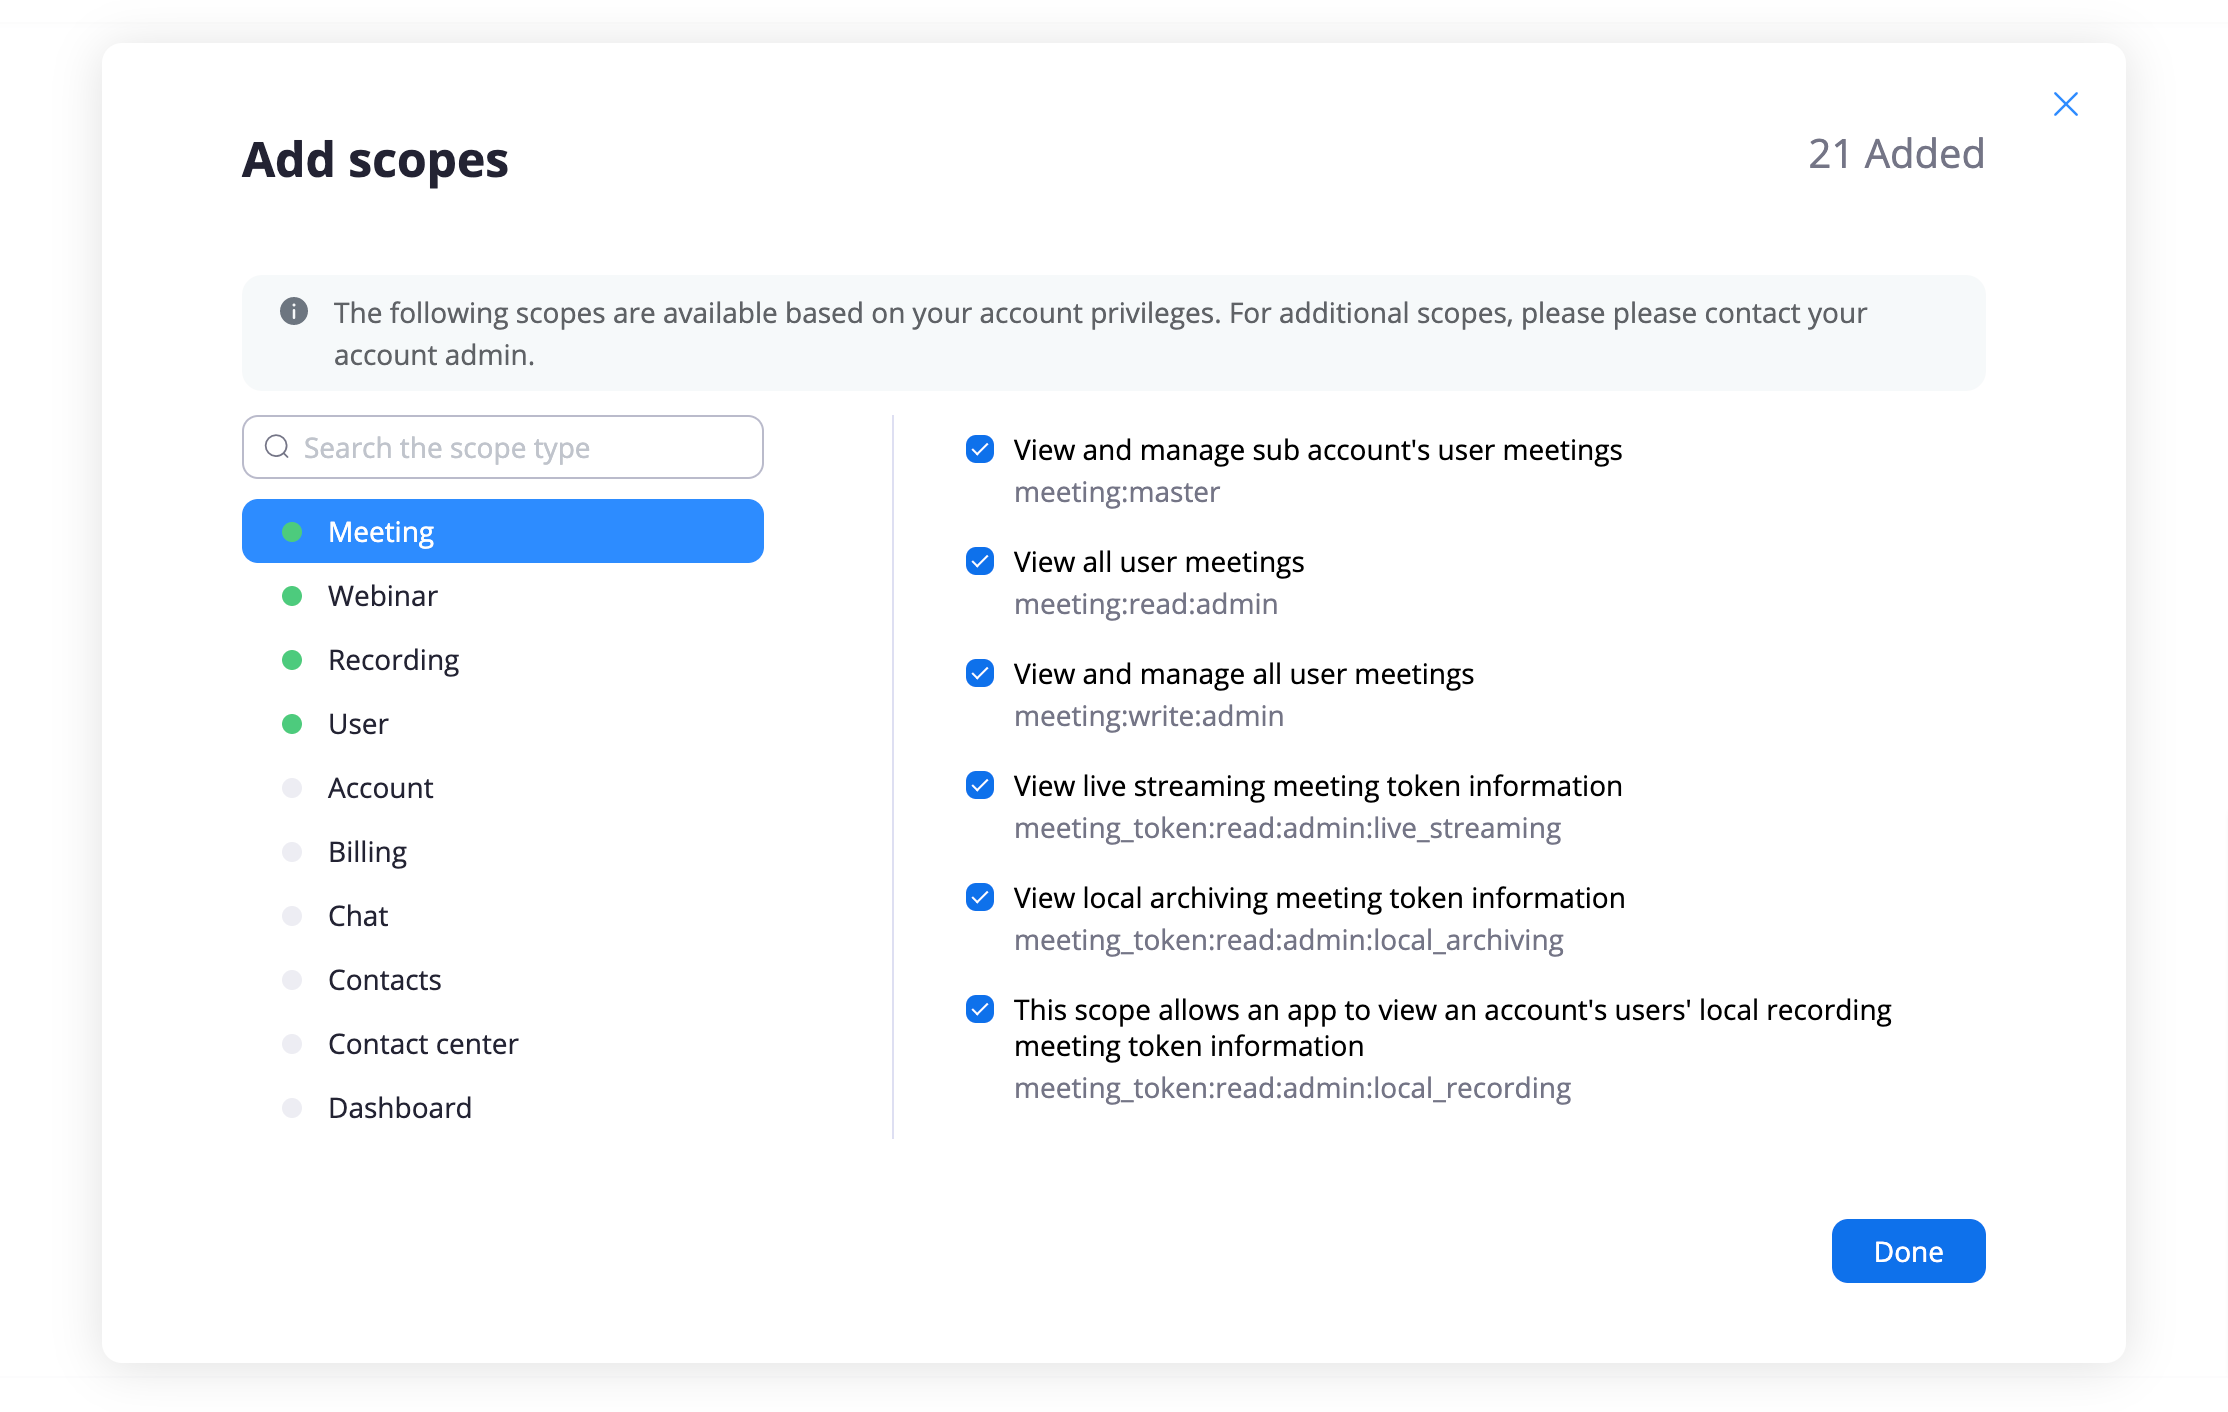
Here below are all the permissions that are required:
– View and manage sub account’s user meetings/meeting:master
– View all user meetings/meeting:read:admin
– View and manage all user meetings/meeting:write:admin
– View and manage sub account’s user recordings/recording:master
– View all user recordings/recording:read:admin
– View and manage all user recordings/recording:write:admin
– View sub account’s report data/report:master
– View report data/report:read:admin
– View your chat history report/report_chat:read:admin
– View and manage sub account’s user information/user:master
– View all user information/user:read:admin
– View users information and manage users/user:write:admin
– View and manage sub account’s user webinars/webinar:master
– View all user Webinars/webinar:read:admin
– View and manage all user Webinars/webinar:write:admin
After these your keys have been generated and good to proceed to next step.
Step 2: Adding your keys to the Plugin
Skip to migration section below if you are an existing Video conferencing with zoom plugin user.
Goto wp-admin > Zoom Events > Settings > connect tab
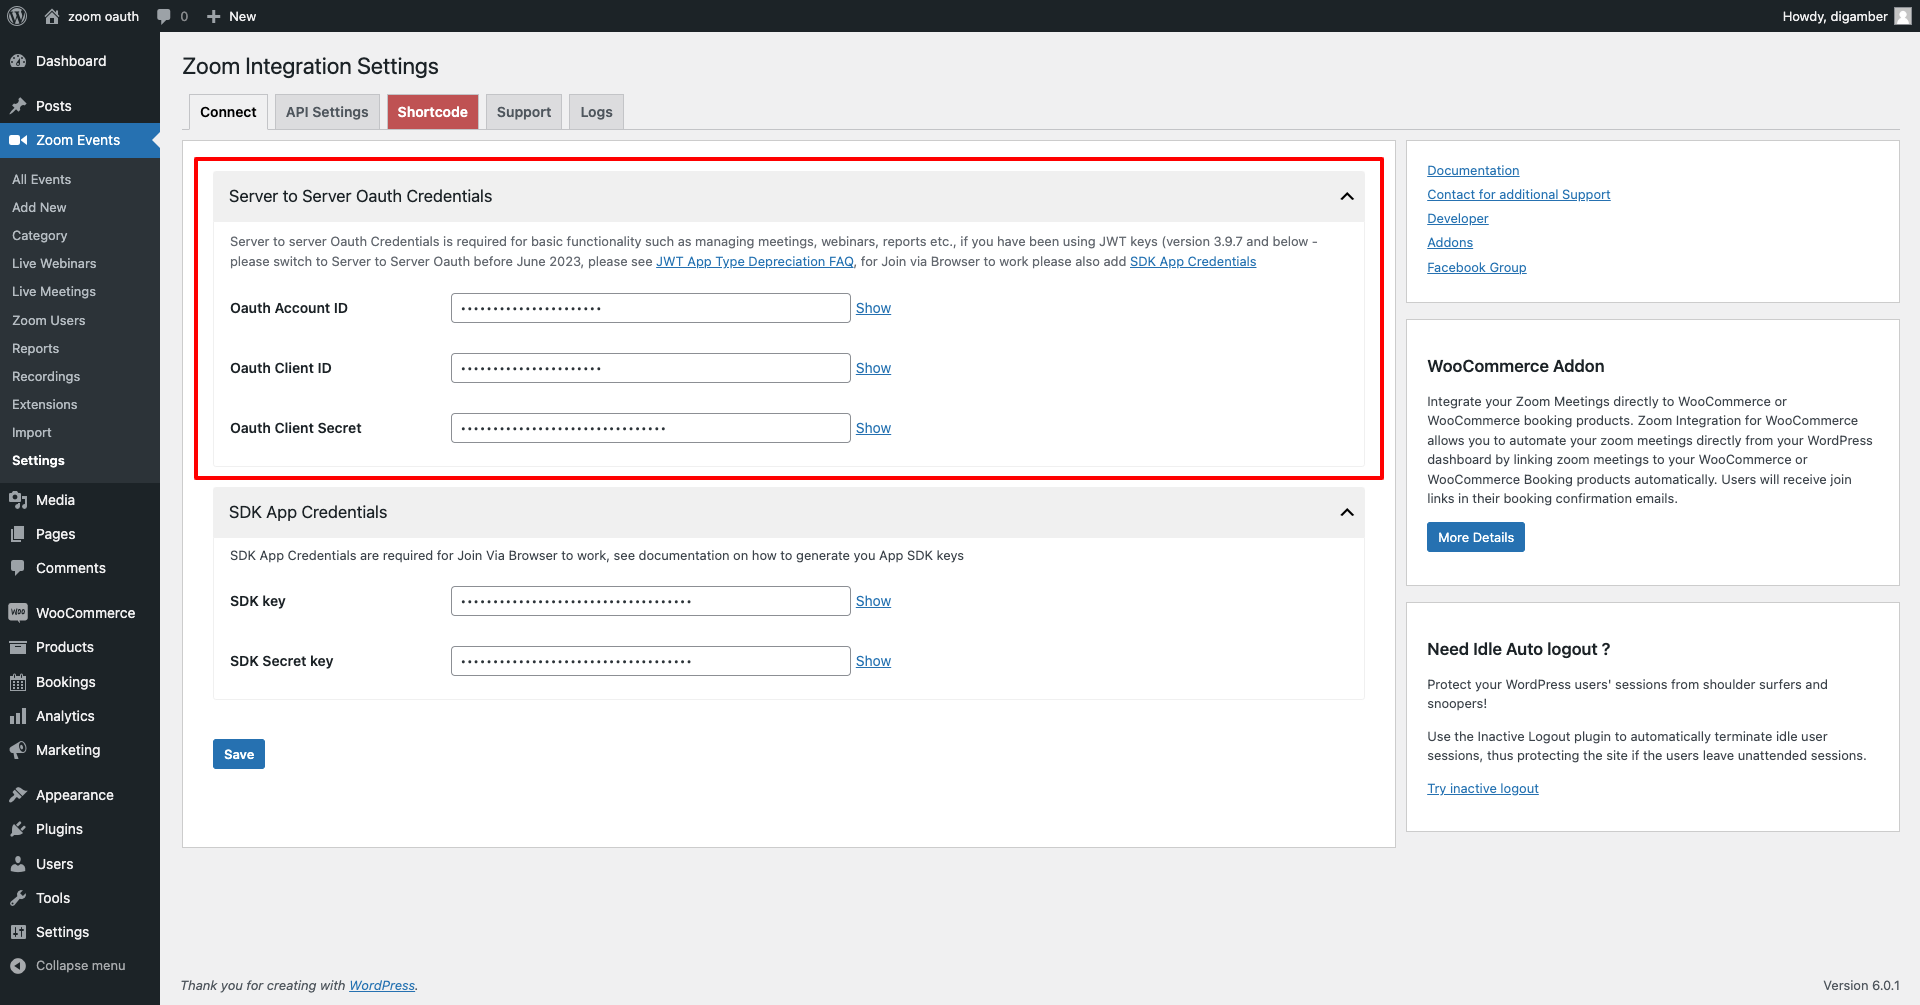
Add the Server-to-Server credentials ( Account ID, Client ID, Client Secret ) that can be viewed in the app under credentials. Shown in step 1 section on point number 4

Click on save to validate the keys and you are successfully connected with your Zoom account.
However, with server-to-server authentication implementation join via browser does not work automatically. You will need to add in the additional SDK keys to activate it.
You can see further documentation from here.
Migrating from JWT to Server-to-Server method
then you should see a message box appearing on the top of your admin panel stating that you should migrate your keys.

Click on the “migration wizard” button to complete the process. Check this link to get an idea of how migration works.
Version 4.0.0 changelog:
- Replaced JWT with server-to-server authentication method
- Updated WebSDK to version 2.5.0